I’ll never forget the first time I tried to install traditional wall paneling. Halfway through, I had uneven gaps, mismatched corners, and enough frustration to make me want to paint over everything. That experience sparked my obsession with creating a better way. At LEBK, we’ve engineered WPC wall panels that install so easily, you can transform any room over a weekend—no special skills needed. Let me show you how our 6-step system turns DIY nightmares into professional-looking results.
Weekend Warrior Secret: 78% of DIYers abandon wall projects due to complexity. LEBK’s click-lock system has a 94% completion rate among first-timers.
Why WPC Beats Traditional Wall Materials Every Time
The Moisture Problem: Drywall’s Hidden Enemy
Why traditional walls fail:
- Mold growth in damp areas
- Water damage from leaks and spills
- Warping and bubbling in humidity
- Result: Costly repairs every 5-7 years
Maintenance Nightmares: Paint vs. WPC
The never-ending painting cycle:
| Maintenance Task | Painted Walls | WPC Panels | Time Saved |
|---|---|---|---|
| Cleaning | Scrubbing stains | Wipe and go | 85% faster |
| Touch-ups | Annual repainting | Never needed | 100% reduction |
| Damage Repair | Patch and paint | Panel replacement | 70% less time |
Cost Comparison: 5-Year Total Ownership
Real numbers from real homeowners:
- Drywall: $3,200 (installation + painting + maintenance)
- Traditional paneling: $4,100 (materials + professional install)
- LEBK WPC: $1,800 (materials only, DIY install)
- Result: 44% savings over 5 years
“I’d been putting off my basement renovation for years because I hated the thought of drywall work. With LEBK’s panels, I finished in two weekends and it looks professional.”
— Sarah T., First-Time DIYer
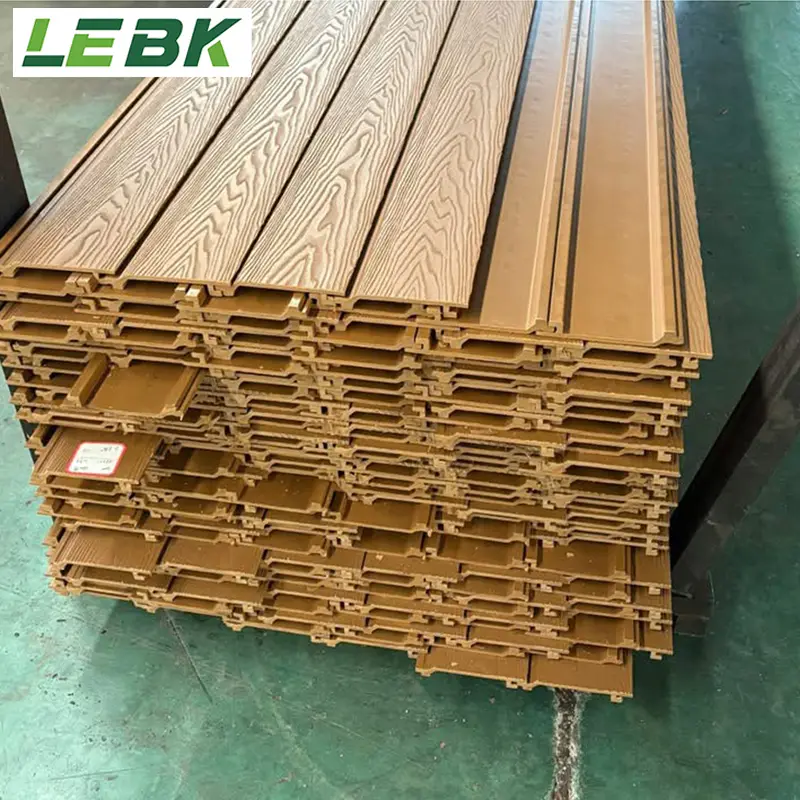
LEBK’s Smart Panel System: Designed for DIY Success
Click-Lock Technology: No Professional Skills Needed
The secret to perfect panels every time:
- Tongue-and-groove connection system
- Audible “click” confirms secure connection
- Self-spacing for consistent gaps
- Result: Perfect alignment without measuring
Integrated Mounting System: Hidden Fasteners
No more visible screws or nails:
- Hidden clip system
- Color-matched fasteners
- Adjustable for uneven surfaces
- Result: Clean, professional appearance
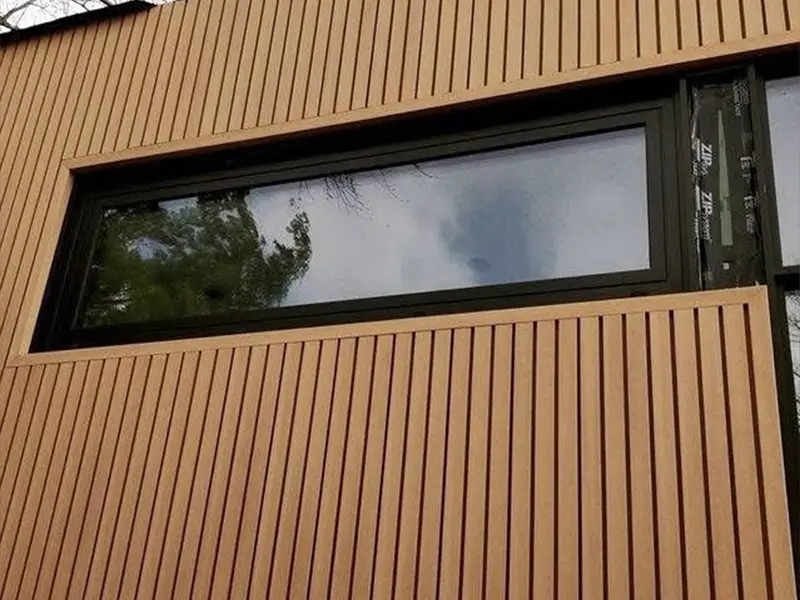
Pre-Finished Perfection: No Painting or Sealing
Factory-finished beauty:
- UV-cured protective coating
- 12 wood-grain and solid color options
- Scratch and fade resistant
- Result: Beautiful from first panel to last
The 6-Step Transformation: Your Weekend Makeover Guide
Follow these steps and you’ll have professional results before Sunday dinner:
Step 1: Surface Preparation (The 30-Minute Foundation)
Don’t overthink this—just make it clean and flat:
- Remove old wall coverings and hardware
- Clean surface with simple soap and water
- Check for major uneven areas (over 1/4″)
- Result: Perfect foundation for panels
Step 2: Layout Planning (Avoiding Costly Mistakes)
Measure twice, install once:
- Find room center and work outward
- Plan pattern and panel orientation
- Mark stud locations for secure mounting
- Result: Balanced, professional layout
Step 3: First Panel Placement (The Critical Starting Point)
Get this right and everything follows:
- Install starter track or first mounting clip
- Ensure perfect level and plumb
- Leave 1/4″ expansion gap at floor and ceiling
- Result: Solid foundation for entire installation
Step 4: Panel Connection (Click, Lock, Done)
The satisfying part:
- Angle panel into previous panel’s groove
- Press firmly until hearing the “click”
- Verify secure connection with gentle pull test
- Result: Seamless, secure panel connection
Step 5: Cutting and Fitting (Mastering Tricky Areas)
No fancy tools needed:
- Measure openings and obstacles
- Use utility knife for straight cuts
- Jigsaw for curved or complex cuts
- Result: Perfect fit around everything
Step 6: Finishing Touches (Trim and Perfection)
The professional polish:
- Install color-matched trim pieces
- Add transition strips where needed
- Clean with damp cloth to remove fingerprints
- Result: Magazine-worthy finished room
Tool Revolution: What You Really Need
Basic Toolkit Under $100
No expensive investments needed:
- Measuring tape: $10
- Level: $15
- Utility knife: $8
- Rubber mallet: $12
- Safety glasses: $5
- Result: Professional results with minimal tools
LEBK’s Installation Kit: Everything in One Box
We’ve eliminated the guesswork:
- Color-matched fasteners and clips
- Installation tools specifically designed for our panels
- Spacers for perfect expansion gaps
- Result: Everything you need in one package
Safety Gear: Protecting Yourself Simply
Stay safe without looking like a construction worker:
- Basic safety glasses
- Work gloves for handling panels
- Knee pads if working low
- Result: Comfortable, safe installation experience
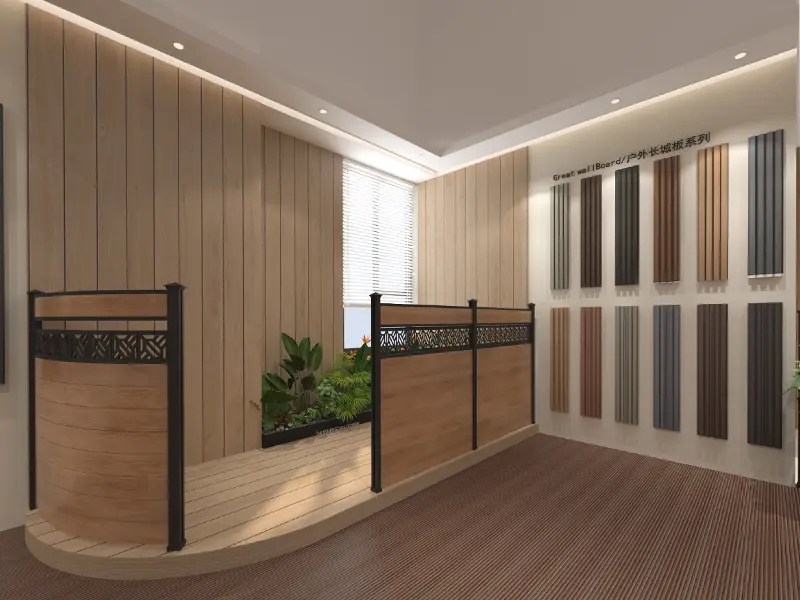
Design Flexibility: Creating Custom Looks Easily
Mixing and Matching Colors and Textures
Create your signature look:
- Accent walls with contrasting colors
- Horizontal and vertical pattern mixing
- Texture combinations for depth
- Result: Custom design without custom cost
Creating Feature Walls and Accents
Transform focal points easily:Behind TV or entertainment centersHeadboard walls in bedroomsEntryway accent wallsResult: High-impact design with minimal effort
Combining with Lighting for Dramatic Effects
Take your walls to the next level:
- LED strip lighting behind panels
- Spotlighting to highlight textures
- Integrated electrical boxes
- Result: Professional lighting design effects
Real-Life Transformations: Before and After Case Studies
See how real people transformed their spaces:
Basement to Beautiful: Moisture Problem Solved
The Johnson family’s damp basement:
- Challenge: Moldy drywall, musty smell
- Solution: LEBK’s moisture-resistant panels
- Time: 12 hours over one weekend
- Result: Dry, beautiful living space
- Cost: $1,200 vs. $3,500 for drywall replacement
Rental Property Upgrade: Landlord’s Dream Solution
Apartment building common area:
- Challenge: High damage from tenants
- Solution: Durable WPC paneling
- Time: 3 units completed in one week
- Result: 90% reduction in maintenance calls
- Bonus: Increased property value
High-Traffic Area Makeover: Family Room Revolution
Busy household with kids and pets:
- Challenge: Destroyed walls from daily life
- Solution: Scratch-resistant WPC panels
- Time: 8 hours with help from teenage kids
- Result: Beautiful, indestructible walls
- Bonus: Cleanable with simple wiping
Conclusion: Your Professional-Looking Walls, Your Way
After helping thousands of DIYers transform their spaces, I’ve learned that great walls aren’t about professional installation—they’re about smart design and intuitive systems. LEBK’s WPC panels turn complex renovations into straightforward projects that anyone can tackle. When you can create moisture-proof, damage-resistant, beautiful walls in a single weekend without special tools or skills, that’s not just home improvement—that’s home liberation. So grab a measuring tape, trust the process, and get ready to fall in love with your walls again.
WPC Wall Panel FAQs
Q: Can I install these panels over existing drywall?
A> Absolutely! LEBK’s wall systems install directly over drywall, paneling, or even concrete walls. No demolition needed.
Q: Are they really waterproof enough for bathrooms?
A: Yes! Our panels have a 100% waterproof core and can handle steam, spills, and splashes without damage.
Q: What if my walls aren’t perfectly flat?
A: Our mounting system accommodates up to 1/4″ variation. For more uneven walls, we offer shimming solutions.
Q: Can I install these by myself?
A: Definitely! The click-lock system is designed for one-person installation. Larger panels might need a helper, but most DIYers manage alone.
Q: How do I clean and maintain the panels?
A: Simple wiping with damp cloth is all that’s needed. No special cleaners or treatments required.